“Don’t touch!” is a phrase I use way too often with my kinesthetic learner two-year-old son. So much of his world is experienced by touch. Everything at his fingertips needs to be explored. Just this week he burned his fingers on a hot frying pan, and now he is learning about how skin heals on its own with “little water bubbles”. It’s all I can do to keep him from popping the blisters on his own!
With second language learning too, kids need to be able to touch and handle the objects that represent their vocabulary. It’s part of the natural learning experience. And its our job to provide as many chances for kids to get their hands involved as possible.
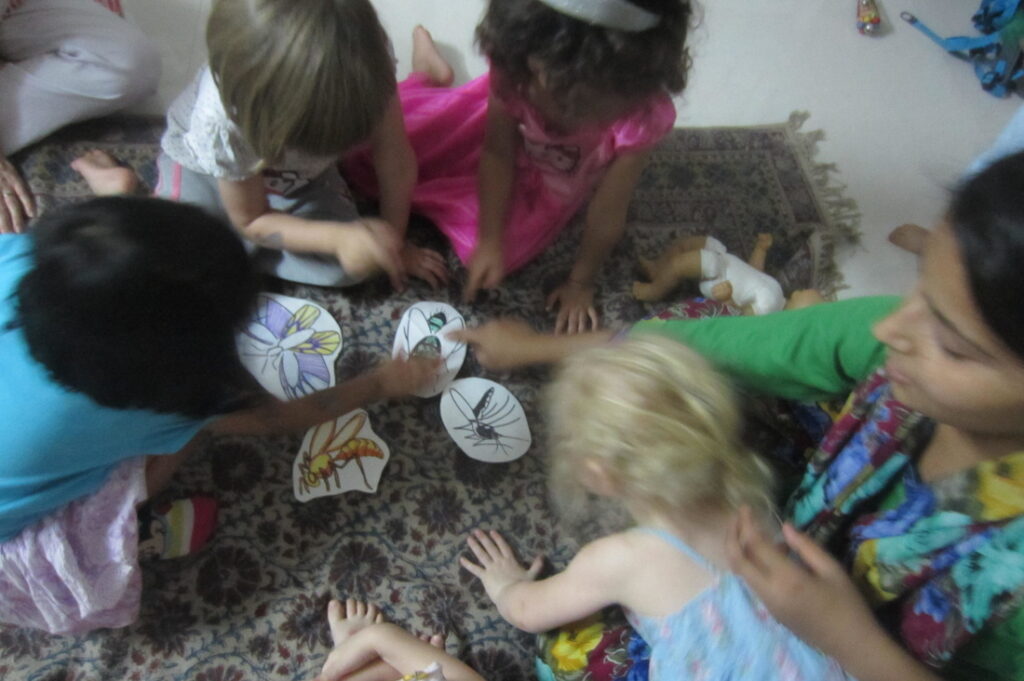
How do we do that in Language Learning for Children? Every group of new vocabulary is introduced with a “Look & Touch”activity. In these activities, the language helper places two new objects in front of the kids, and identifies each one. Then he/she asks “Where is the ____?” and the kids will get to point and touch the correct object. From there, after a few repetitions, the language helper will include more objects from the new words group.
Without a concrete object in front of them, kids can get lost in the abstraction of the target vocabulary. “As real as possible” is a good rule of thumb when picking objects for Look and Touch. If you are learning fruits, use real fruit. If you are learning names for family members, real people, detailed dolls, or pictures of family members would all be potential choices.
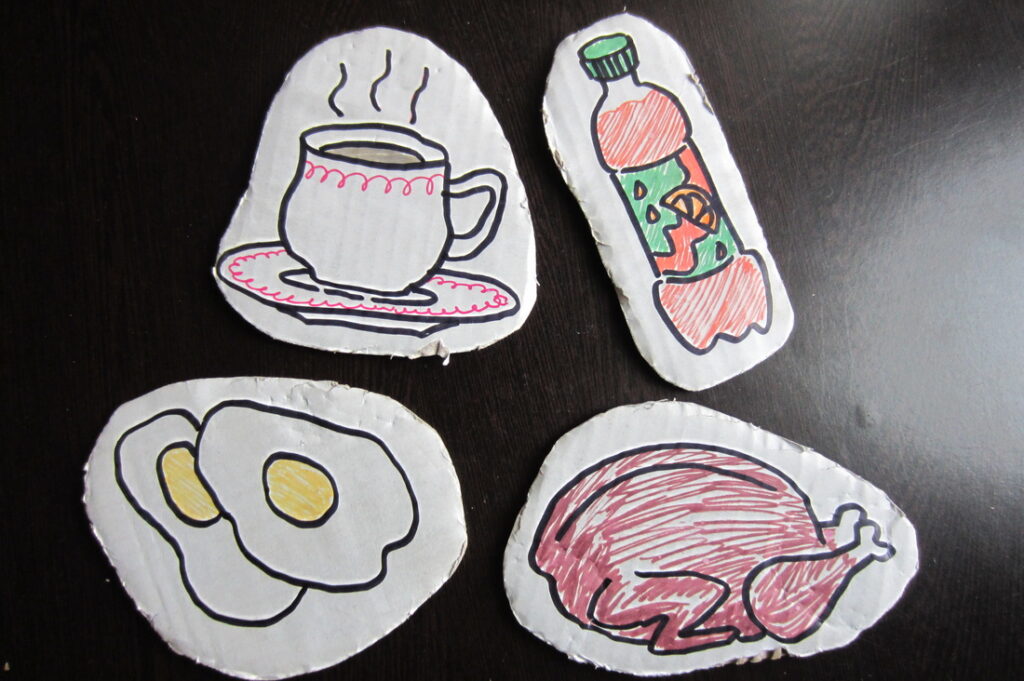
Sometimes using the real world object is totally unwise and unfeasible. A notable example might be while learning “Dirty Things” in Lesson 8, using real poop or real mud during the Look & Touch activity would be a HORRIBLE IDEA. While learning Indian vegetables, Christine and I thought it would be brilliant to use real chili peppers during the games, and during the course of the class, one chili broke open and the seeds went everywhere. We then had to make sure no kid touched their eyes or face during the class until there was an opportunity for everyone to thoroughly wash hands. We are geniuses and proud of it.
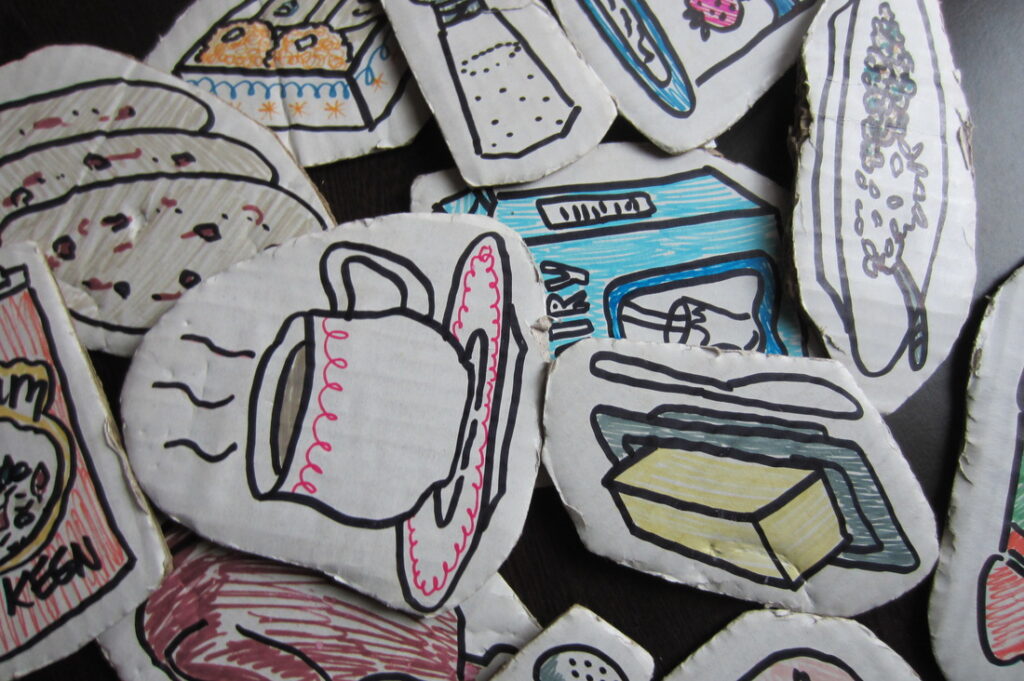
Whenever using real objects doesn’t work, that’s where cardboard Look & Touch objects will do the job. We’ve created a short video on how to make some for your own class. Don’t be intimidated if you are “not the artsy type”. There are plenty of alternative ways to put pictures/clip art onto paper. Especially if you have a printer!
Get the kids in your class to make these with you outside of class time. Maybe an older child with crafty inclinations could make the new objects for each class. The best thing about using cardboard objects is that they can LAST FOREVER. Whenever a class is particularly rough on my cardboard objects, a little glue stick maintenance is all they need to stay in top shape! They even hold up to “droolers” well if you let them dry out thoroughly between uses (anyone with a one year old baby knows what I mean).
Let us know how your cardboard objects turned out, by leaving a comment below. Thanks for reading. Check back for more tips and tools here on our blog.